Vintage

Sunday, October 14, 2012

My Pinterest Addiction

So like every other girl/woman (yes, I'm finally beginning to consider myself a woman) in the world, I have a Pinterest account. To be accurate I'm a bit of a Pinterest addict. I will sit for minutes hours on end pinning away finding ways to clean my house, make my baby cuter, and fix the perfect meal. But this evening as I was drudgingly cleaning up my kitchen (no amount of pinning makes that easier), I got to thinking. How many of those hundreds of pins will I actually bring to life? To go a step further, how many have I actually done? I had to give myself a few criteria: 1. It couldn't be something from my own blog and 2. It couldn't be from homemadeginger.com because I've been doing her stuff long before pinning become popular. With that set, I looked through all my pins and came up with the rather short list below including my graded experience.

1. DIY T-shirt scarf: D-
    It wasn't an epic fail but it was pretty close. I didn't use a shirt without seams, mistake #1, and I think I cut the strips too thin. All in all I might do it again but I don't have enough clothes to experiment too much.

2. Repurposed Plastic Closures: A+
    It's hard to mess this one up. You basically take those plastic tab closures, attach to electronics cords, and label with a sharpie. Great way to know what cords are what.

3. Yarn Mobile: B
    I did this in varying sizes for my son's mobile over his crib. The small versions turned out good but the larger ones have started to unravel.

4. Microwave Potato Chips: A-
    They taste good, come out crispy, but to it takes a lot of potatoes to make a substantial serving.

5. Razorback Subway Art: A+
    The pin actually takes you to someone's Etsy site but my husband and I managed to put our efforts together and create our own version of this. Sometimes all you need is a little inspiration.

6. 2-Minute Mug Brownies: A++
   This alone is worth Pinterest existing. Best thing ever!

7. Crispy Sweet Potato Fries: B-
    Don't get me wrong, these tasted good and everything but I was really hoping for crispy as the recipe claims. Maybe it's just my oven but rather than getting crispy they just started to over brown/burn on one side. I think I'll stick with my unhealthy fried version.

Well there you have it out of almost 350 pins I've actualized 7 of them. Sad but true. So I'm curious, how many of your pins have you done?

Tuesday, October 2, 2012

My Top 10 Must-haves for New Baby and Mom

So that little bundle I made the post-partum pads in preparation for finally arrived and only 51 hours of labor! With his arrival, I got to thinking about those "essentials." You know the handful of things that actually make life possible after the baby comes. So now that I'm a mom of two and a total baby expert (*extreme sarcasm*), I thought I'd pass on all my matronly wisdom in the realm of stuff you'll need. So here are my top 5 baby and top 5 mommy must-haves.

*I should note (not that it matters) that I have in no way been compensated by the makers of any of these products to promote their wares.*


Baby's Top 5
1. Swaddling Blankets: I'm not talking those little receiving blankets. I mean the stretchy cotton, baby burrito-style wrapswith the velcro. Because let's face it the worst thing is trying to rewrap a screaming baby at 2 a.m.

2. FuzziBunz Cloth Diapers: Obviously this one is a little taste specific, but now that I'm on cloth diapering baby #2, I can say these are by far my faves. Sturdy snaps, adjust to fit my newborn and my giant two-year old, and clean up great.

3. Moby Wrap: I say Moby because it's what we have but truly any baby carrier will do. I'm not really one of those huge proponents of baby wearing (yes, it's a thing), but it's nice to be hands free when doing things around the house.

4. Soothies Pacifiers: Not much to say other than they may not be the cutest but they do the job the best.

5. Aveeno lotion and wash: I love Aveeno for myself and love it for baby. It's mild, has a pleasant but light scent, and it feels good on mommy's skin too!

Mommy's Top 5

1. Medela Tender Care Lanolin: If you are nursing you are going to want lanolin. I love Medela brand because it comes out smoother and softer than other brands.

2. Post-partum Pads: Check out my previous post for more info. Basically it's soothing relief to your lady parts.

3. Medela Double Electric Breast Pump: If you're not needing to pump because you'll be away from baby, this fancy one probably isn't necessary, but I'm sure glad I have mine for when I head back to work.

4. Mascara: If you don't get to put any other makeup on before leaving the house, or even at home, put on some mascara. It always makes me feel a little more put together. I love Maybelline Define-a-Lash.

5. Mug Brownies: I discovered this recipe on Pinterest a few months ago and the two of us have become good friends. Put 1/4 c. flour, 1/4 c. brown sugar, 2 Tbs. cocoa powder, an pinch of salt in a mug. Mix. Stir in 2 Tbs. milk and 2 Tbs. oil until it's a thick paste. Microwave 60 sec. That's it!

Well there you have it. The products I love for mommy and baby. Obviously there could be many more and are that I love, but these are the ones I am loving right now.

Here's the inspiration behind this post. Pretty cute, huh?

Sunday, August 12, 2012

Postpartum Care

Just a few weeks from delivery date and we are in full prep mode! That includes prep for my own care as well as baby's.

If you've had a baby or even if you haven't, you probably know, have read, or have had the life scared out of you by other moms about what things are like postpartum (aka after a wonderful baby the size of a melon pushes forth from a part of your body that went from being the width of a finger to being the width of a DVD). In a much understated word...OUCH!!

Now that that's been explained, it's time to talk about taking care of afore mentioned traumatized nether region. To avoid being to graphic let's just say that things are not so pretty. Lots of swelling, extreme tenderness, and let's face it the biggest period you will ever have. At the hospital they usually provide you with some stylish mesh panties courtesy of Victoria's Not-so Secret and a giant ice pack/mondo pad. Truth be told I greatly appreciated every bit of aid I got in the hospital. They may not have been pretty but the soothing relief was much desired. Sad to say they do not send you home with a month's supply of these ice pack pads, that's where the Pinterest-coined "padsicle" comes in. 

So for all you moms-to-be out there, enjoy this quick and worth while tutorial that quite literally came to my rescue. It may have even been more helpful than all those wonderful meals I didn't have to prepare myself...well at least tied for first.

Step 1: Gather your materials

  • Mondo pads: As in the longest, biggest, most absorbent pads you can find. Some moms suggest the incontinence pads but I'm all about Always brand extra long, overnights. The best part is it's not super bulky and they re-wrap easily (an important thing to keep in mind for this project).
  • Witch Hazel: Usually found in the first aid type stuff in the pharmacy near rubbing alcohol.
  • Aloe Vera Gel: The same stuff you rub on your skin after a sun burn
  • Small Spray Bottle: Used to dispense the magic concoction onto the pad.
  • Foil: You'll probably have this lying around the house

Step 2: Mix it up

Mix 1/4 c. of the witch hazel with a 2 tablespoons of the aloe gel in a bowl. Carefully pour into the spray bottle. I would make at least a double batch for a full box of pads. Any extra you may have can be stored in the fridge and used as a soothing spray during potty time.

Step 3: Spray it on

You'll need to carefully unwrap the pad and gently remove the center plastic that covers the adhesive on the wings.

Now spray a good amount (enough to sufficiently saturate) of the mixture onto the center part of the pad. Basically you want the part of the pad that will make direct contact with your sore lady parts. Be careful not to spray the adhesive on the wings or else they won't be sticky anymore.

Step 4: Wrap it up and freeze

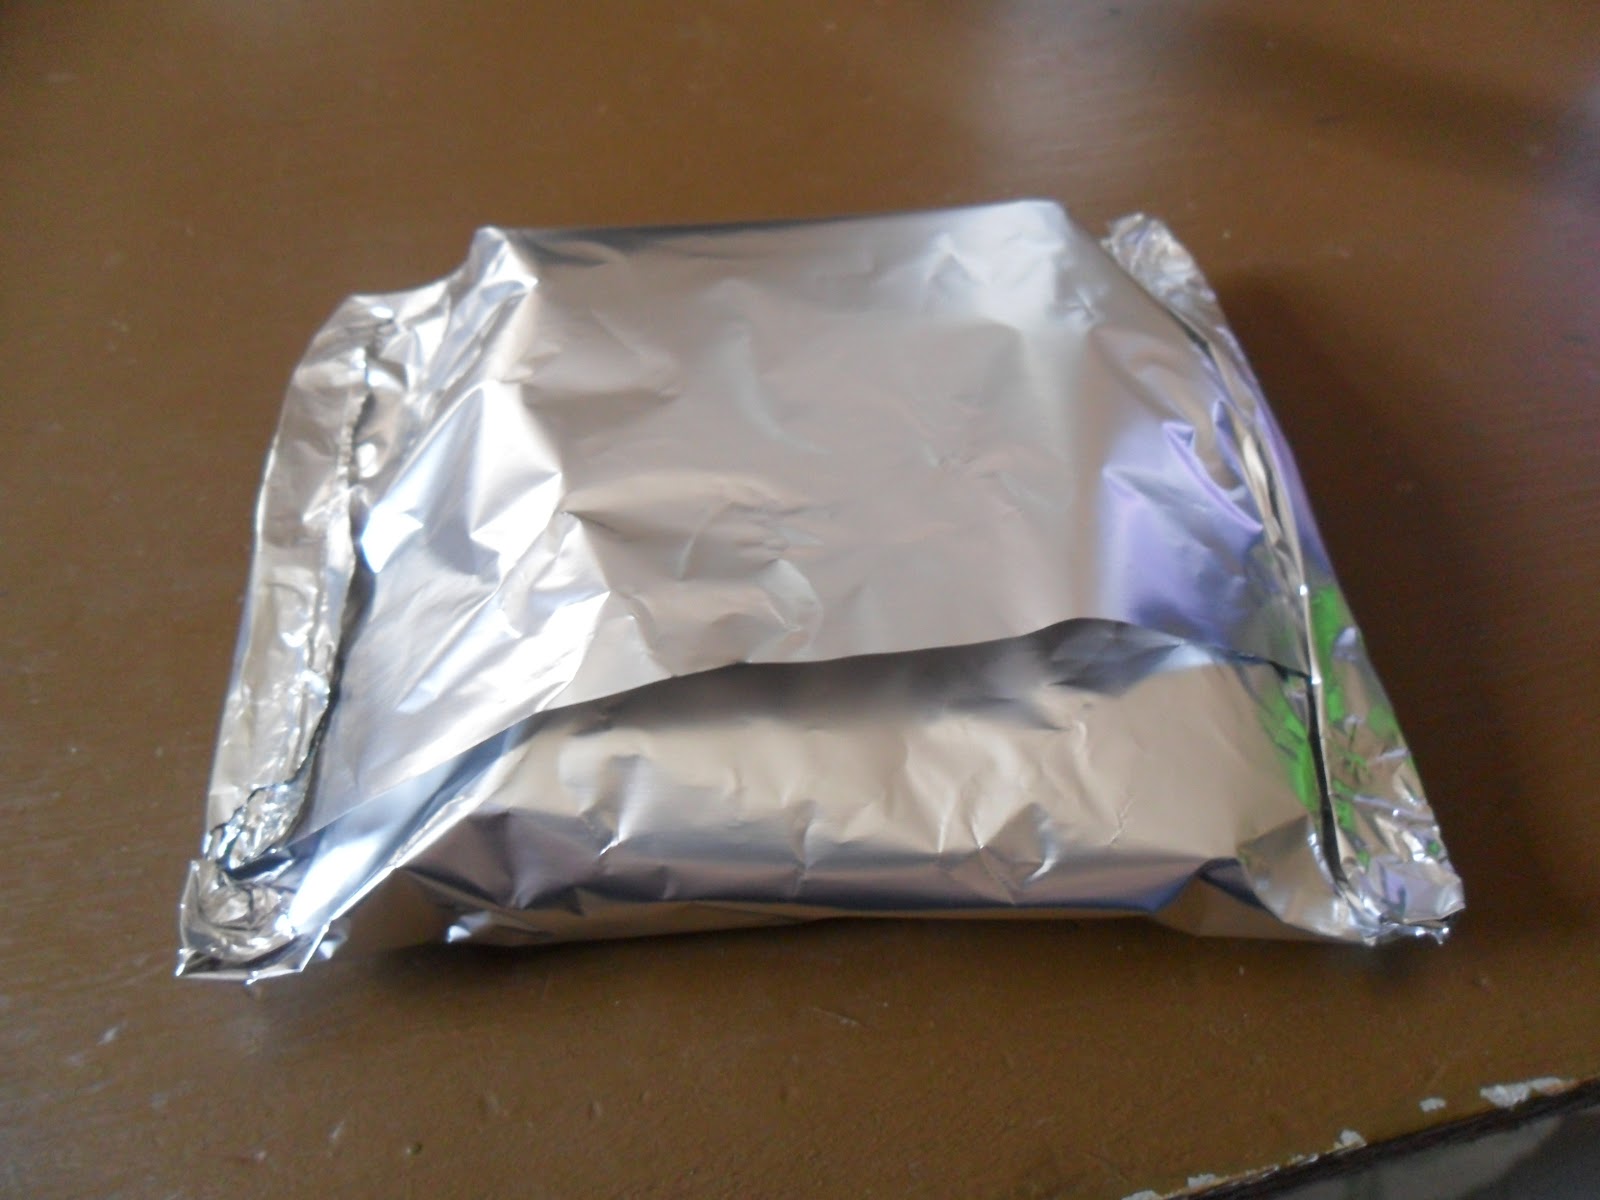
Once you're pad is sufficiently dampened, carefully replace the plastic coving the wing adhesive and gently wrap the pad back up. Cut a sheet of foil that will completely wrap the pad.
Next wrap it up like you would a foil pack, sealing the ends.

Now repeat the above steps with each pad. Once finished put them back in the original bag/box and pop in the freezer. 

Step 5: Enjoy soothing relief for your aching lady parts

Once you run out of the few ice packs the hospital sends home, use one of these "padsicles" instead of a regular pad. It will not only take care of flow issues, but provide the soothing relief of cold (frozen) and gentle healing properties (aloe & witch hazel). 

I went through about two boxes of these with my first baby. I made up one ahead of time (about 3 weeks out) and made another one when I realized I was going to need more. Hope this helps. I know I appreciated having them ready for me when I got home.

Wednesday, July 18, 2012

Budgeting 101: To Market, To Market

Well so much for being consistent about blogging. A month and a half later here I am back again. Truth be told, life caught up with me a bit. The Bear got bronchitis (major ugh!), work got a little hectic, we celebrated year 4 of married life, and let's face it the energy level is ever decreasing as I near the birth of baby #2. That said, I am here to deliver my shopping plan as promised.

Step 1: Take Inventory
Probably the most important step is to know what you have in your stash and what basics you're running low on. My basics are things like coffee, crackers, cheese, flour, sugar, rice, pasta, canned soup (tomato, cream of chicken and mushroom), canned veggies and beans, potatoes, as well as paper goods (TP & paper towels). Things of that nature. These are things my family uses a lot of and so I make sure we have it all in the house. After the basics I take inventory of our meat. Know what you've got to work with.

Step 2: Plan Your Meals for the Week
1. Take into consideration what you already have in stock before you start looking at what you need to buy. If you are really trying to save money, also look at what you can substitute in recipes. For example this very evening I substituted a can of green chiles for a few chopped jalapeno slices in my chili recipe.
2. When it comes to planning meals, find a balance of proteins and get creative with them. Let's face it, unless it's majorly on sale, beef is really not an affordable option, even ground. We stick with whole chicken (it can go a long way), pork when on sale, beans (pick a night to go all veg), and fish. I try not to have the same protein more than two meals in a row just to keep the variety going.
3. Shop the ads. I'll be honest, I don't really do this but I have been blessed by Aldi where I don't necessarily have to shop ads because their prices are already lower than most brands on sale. That said, I don't buy meat from them (solution added is not okay in my house). So in the way of meat, shop the ads. And fresh produce, buy on sale and in season!

Here's an example of a weekly meal plan I did. Hopefully in the near future I can post the recipes.

Monday: Roasted Chicken & Greek Potatoes w/Green Beans
Tuesday: Southwest Veggie Bake (lots of beans) & Salad
Wednesday: Honey Garlic Pork Chops w/Broccoli and Baked Potatoes
Thursday: Chicken Lo Mien & Crab Rangoons
Friday: Mushroom Steak (using cube steaks) w/Green Beans & Mashed Potatoes

We are a family of 3 and yes my toddler eats like an adult so I count him. I usually make enough for 4-5 servings so that there is a little left over the next day for lunches.

Step 3: Make Your Shopping List
Now that you've got your meal plan and know what you have in house. Make your list. The key to this is being detailed. I shop two stores: Wal-Mart & Aldi. I know these stores and where everything is. I make my list according to the store's layout. At Wal-Mart I start at the back and work my way up. Aldi you walk in and end at the check out. Making your list to suit your store is important for a few reasons. First, it saves you the time and frustration of going back and forth and up and down a bunch of aisles as you realize you've missed something on your list. *Disclaimer: this still happens to me as I sometimes skip over things even when they are in order on the list.* Second, it saves you from going down aisles you don't need to go down and being tempted to purchase things not on your list.

Step 4: Go Shopping!
Normally, a woman loves to go shopping, but let's face it grocery shopping is tedious. Having the list makes things so much easier and more efficient. There are two major tips: 1. Stick to the list & 2. Write down the price of each item. This second step is super important when it comes to the budget aspect. When I write down the price I over estimate to the next half dollar. Actual price, $3.15; Written price $3.50. This helps take into account tax. I like to add as I go so I know where I am budget-wise and know what to expect when I get to the register. Sometimes the prices will ring up different from what you estimate. Don't be afraid to double check on stuff if it rings up more than you wrote down.

Okay, I think that's it. Probably not as detailed as I could have been and may not even be that helpful, but I got it out there.
Forewarning, next post will probably be baby related. I'm thinking 'What's in my bag, hospital addition' and probably my amazing recipe for postpartum care.