Vintage

Sunday, August 12, 2012

Postpartum Care

Just a few weeks from delivery date and we are in full prep mode! That includes prep for my own care as well as baby's.

If you've had a baby or even if you haven't, you probably know, have read, or have had the life scared out of you by other moms about what things are like postpartum (aka after a wonderful baby the size of a melon pushes forth from a part of your body that went from being the width of a finger to being the width of a DVD). In a much understated word...OUCH!!

Now that that's been explained, it's time to talk about taking care of afore mentioned traumatized nether region. To avoid being to graphic let's just say that things are not so pretty. Lots of swelling, extreme tenderness, and let's face it the biggest period you will ever have. At the hospital they usually provide you with some stylish mesh panties courtesy of Victoria's Not-so Secret and a giant ice pack/mondo pad. Truth be told I greatly appreciated every bit of aid I got in the hospital. They may not have been pretty but the soothing relief was much desired. Sad to say they do not send you home with a month's supply of these ice pack pads, that's where the Pinterest-coined "padsicle" comes in. 

So for all you moms-to-be out there, enjoy this quick and worth while tutorial that quite literally came to my rescue. It may have even been more helpful than all those wonderful meals I didn't have to prepare myself...well at least tied for first.

Step 1: Gather your materials

  • Mondo pads: As in the longest, biggest, most absorbent pads you can find. Some moms suggest the incontinence pads but I'm all about Always brand extra long, overnights. The best part is it's not super bulky and they re-wrap easily (an important thing to keep in mind for this project).
  • Witch Hazel: Usually found in the first aid type stuff in the pharmacy near rubbing alcohol.
  • Aloe Vera Gel: The same stuff you rub on your skin after a sun burn
  • Small Spray Bottle: Used to dispense the magic concoction onto the pad.
  • Foil: You'll probably have this lying around the house

Step 2: Mix it up

Mix 1/4 c. of the witch hazel with a 2 tablespoons of the aloe gel in a bowl. Carefully pour into the spray bottle. I would make at least a double batch for a full box of pads. Any extra you may have can be stored in the fridge and used as a soothing spray during potty time.

Step 3: Spray it on

You'll need to carefully unwrap the pad and gently remove the center plastic that covers the adhesive on the wings.

Now spray a good amount (enough to sufficiently saturate) of the mixture onto the center part of the pad. Basically you want the part of the pad that will make direct contact with your sore lady parts. Be careful not to spray the adhesive on the wings or else they won't be sticky anymore.

Step 4: Wrap it up and freeze

Once you're pad is sufficiently dampened, carefully replace the plastic coving the wing adhesive and gently wrap the pad back up. Cut a sheet of foil that will completely wrap the pad.
Next wrap it up like you would a foil pack, sealing the ends.
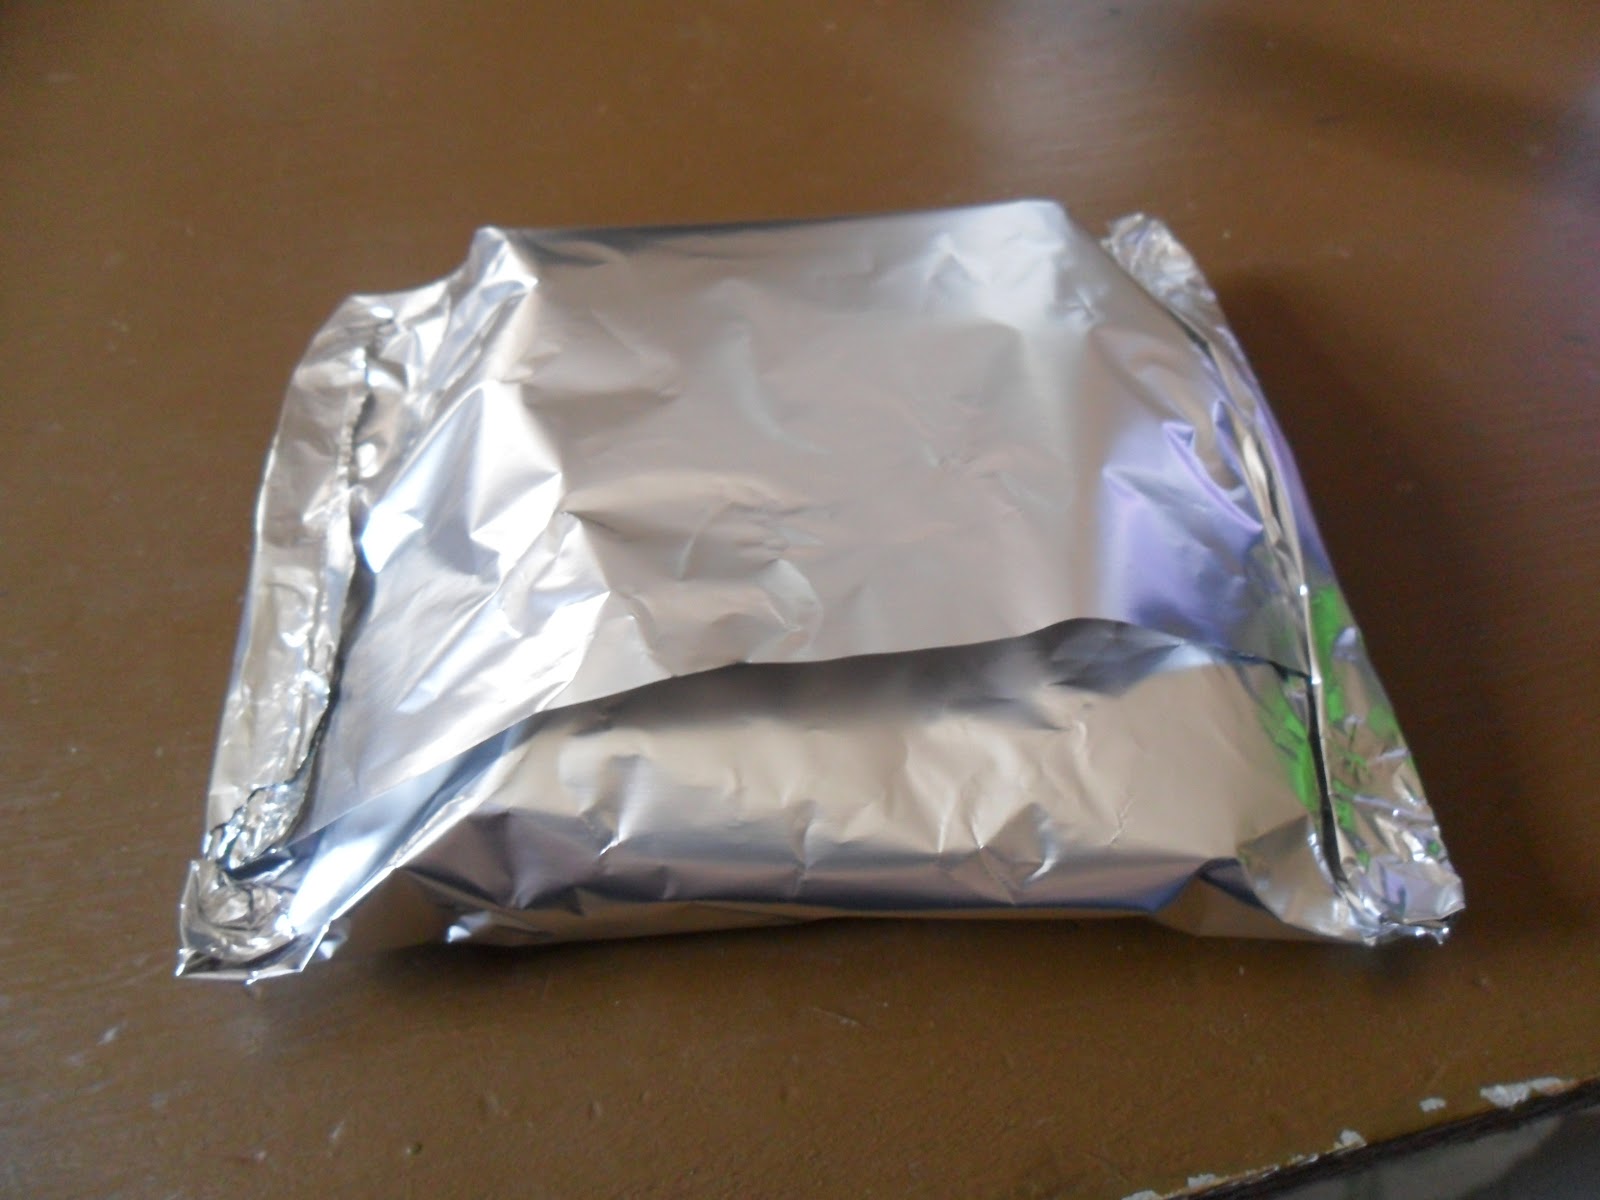
Now repeat the above steps with each pad. Once finished put them back in the original bag/box and pop in the freezer. 

Step 5: Enjoy soothing relief for your aching lady parts

Once you run out of the few ice packs the hospital sends home, use one of these "padsicles" instead of a regular pad. It will not only take care of flow issues, but provide the soothing relief of cold (frozen) and gentle healing properties (aloe & witch hazel). 

I went through about two boxes of these with my first baby. I made up one ahead of time (about 3 weeks out) and made another one when I realized I was going to need more. Hope this helps. I know I appreciated having them ready for me when I got home.

Wednesday, July 18, 2012

Budgeting 101: To Market, To Market

Well so much for being consistent about blogging. A month and a half later here I am back again. Truth be told, life caught up with me a bit. The Bear got bronchitis (major ugh!), work got a little hectic, we celebrated year 4 of married life, and let's face it the energy level is ever decreasing as I near the birth of baby #2. That said, I am here to deliver my shopping plan as promised.

Step 1: Take Inventory
Probably the most important step is to know what you have in your stash and what basics you're running low on. My basics are things like coffee, crackers, cheese, flour, sugar, rice, pasta, canned soup (tomato, cream of chicken and mushroom), canned veggies and beans, potatoes, as well as paper goods (TP & paper towels). Things of that nature. These are things my family uses a lot of and so I make sure we have it all in the house. After the basics I take inventory of our meat. Know what you've got to work with.

Step 2: Plan Your Meals for the Week
1. Take into consideration what you already have in stock before you start looking at what you need to buy. If you are really trying to save money, also look at what you can substitute in recipes. For example this very evening I substituted a can of green chiles for a few chopped jalapeno slices in my chili recipe.
2. When it comes to planning meals, find a balance of proteins and get creative with them. Let's face it, unless it's majorly on sale, beef is really not an affordable option, even ground. We stick with whole chicken (it can go a long way), pork when on sale, beans (pick a night to go all veg), and fish. I try not to have the same protein more than two meals in a row just to keep the variety going.
3. Shop the ads. I'll be honest, I don't really do this but I have been blessed by Aldi where I don't necessarily have to shop ads because their prices are already lower than most brands on sale. That said, I don't buy meat from them (solution added is not okay in my house). So in the way of meat, shop the ads. And fresh produce, buy on sale and in season!

Here's an example of a weekly meal plan I did. Hopefully in the near future I can post the recipes.

Monday: Roasted Chicken & Greek Potatoes w/Green Beans
Tuesday: Southwest Veggie Bake (lots of beans) & Salad
Wednesday: Honey Garlic Pork Chops w/Broccoli and Baked Potatoes
Thursday: Chicken Lo Mien & Crab Rangoons
Friday: Mushroom Steak (using cube steaks) w/Green Beans & Mashed Potatoes

We are a family of 3 and yes my toddler eats like an adult so I count him. I usually make enough for 4-5 servings so that there is a little left over the next day for lunches.

Step 3: Make Your Shopping List
Now that you've got your meal plan and know what you have in house. Make your list. The key to this is being detailed. I shop two stores: Wal-Mart & Aldi. I know these stores and where everything is. I make my list according to the store's layout. At Wal-Mart I start at the back and work my way up. Aldi you walk in and end at the check out. Making your list to suit your store is important for a few reasons. First, it saves you the time and frustration of going back and forth and up and down a bunch of aisles as you realize you've missed something on your list. *Disclaimer: this still happens to me as I sometimes skip over things even when they are in order on the list.* Second, it saves you from going down aisles you don't need to go down and being tempted to purchase things not on your list.

Step 4: Go Shopping!
Normally, a woman loves to go shopping, but let's face it grocery shopping is tedious. Having the list makes things so much easier and more efficient. There are two major tips: 1. Stick to the list & 2. Write down the price of each item. This second step is super important when it comes to the budget aspect. When I write down the price I over estimate to the next half dollar. Actual price, $3.15; Written price $3.50. This helps take into account tax. I like to add as I go so I know where I am budget-wise and know what to expect when I get to the register. Sometimes the prices will ring up different from what you estimate. Don't be afraid to double check on stuff if it rings up more than you wrote down.

Okay, I think that's it. Probably not as detailed as I could have been and may not even be that helpful, but I got it out there.
Forewarning, next post will probably be baby related. I'm thinking 'What's in my bag, hospital addition' and probably my amazing recipe for postpartum care.

Monday, June 4, 2012

Budget 101: The Cardinal Rules of Grocery Budgeting


To really get your grocery budget in check, you’ve got to follow a few cardinal rules.

1.  Embrace the generosity of others.

    This is probably the most difficult but the most important rule of all. There is a fine line between enjoying the generosity and taking advantage of it. Every family’s version of this is different. For us it includes participating in WIC. If you are unfamiliar, WIC is a fantastic government-sponsored program for families with young children that provides very basic groceries such as milk, cheese, bread, cereal, beans, and an allotment of fruits and veggies based on financial need. Truth be told this is the biggest source of help when it comes to our overall grocery budget. WIC provides at least another $100 a month to our groceries. It took me a little bit to get over the stereotype I had associated with WIC, but putting my own pride aside, I did what was needed for my family.
    Aside from the generosity of taxpayers, we have also learned to embrace those families who love us enough to share a bit of their blessings with us. If someone invites you over for Sunday lunch, accept graciously and always offer to bring something. If you have a friend who happens to slaughter a cow or have lots of venison left from hunting season and offers you some meat, open up that freezer and allow them to share the wealth. And of course, if your loving parents or in-laws ask how they can help, tell them they can take you to the grocery store.
    Husband and I look forward to the day that we too can pour out our blessings on others, but for now we are the ones receiving the blessings from others. Now on to the other ‘rules.’

2.  Set your budget and stick to it.

    Take a hard look at your finances and see what your average spending for groceries and toiletries have been over the last 6 months. See what you specifically spend on meats, produce, dairy, and dry goods. If possible also look at what meals you prepare on a regular basis. This will help tremendously when you move on to other steps. Now set your budget. Again every family is different, some spend more, some less. We stick to an average of $50 a week. Some weeks are more, some less. Knowing your budget and sticking to it strictly is the key.

3.  Shop with cash.

    This has truly been the money saving tip of the century. Every two weeks I visit the bank and take out the grocery money for those two weeks. When I go to the store I know that that’s all the money I have for two weeks. If the money runs out, I don’t by anything else. When you have that cash in hand it makes you much more aware of how much you spend.

4.  Shop with a plan and a purpose.

    Before I even think about going to the store, I make a plan. I know what stores I will go to, what meals I will make that week, and exactly what I am going to buy. I’ll go into more detail about the planning stages in another post. Basically, in making a plan you can save yourself time and money.

That’s the basics of it all. It sounds so simple and yes, it is once you get the hang of it all. Next post I’ll share how I do my shopping plan. Enjoy your first full week of June!

Friday, June 1, 2012

Budget 101: The Basics

Look at me two posts in 1 week. Woohoo! So if you are part of the privileged class known as our friends and family, you know that we have always been on a tight budget and now with both of us only working part time the budget is even tighter.

In an attempt to get some creative ideas for our budget I started looking around the world wide web for ideas. Lo and behold my idea of a strict budget varies greatly from the general population. I feel like we live on the bare necessities but I guess you can be the judge of that. Without going into too many details, here's the general scheme of our monthly budget.

Essentials (aka bills we can't really change)
$500  Rent
$400  Health Insurance (it super sucks having to pay for your own insurance)
$128  Car Insurance (trying to get creative with our agent to get this lower)
$200  Student Loans (only 6 more years to go!!)
$180  Car Loan (only 20 easy payments left)
$272  Tithe (give to God what is God's, pre-taxes of course)
$200  All Utilities (this is the top budgeted, we have yet to actually spend this much monthly)

Extras (aka stuff we need and yet don't need)
$139 Cell Phones (ugh! why does it cost so much?! trying to figure out a way we can get this lowered)
$24   Internet (yes, we need it. How else would I get to blog?)

Grocery & Gas (the most creative section of budgeting)
$200  Groceries (yeah you read that right, $200 a month = $50 a week)
$100  Gas (this has been the most difficult and the one we fudge on the most) 

That brings us to a grand total of $2343/month. When I add it all up is sounds like so much but I guess in comparison to others it's not so bad. I won't go into the detail of saying how much we actually bring home (I gotta keep something private!), but let's just say there's not much left for fun and games. Oh, by the way, the grocery budget also includes any toiletries we might need to get. That money doesn't just appear out of thin air. With what is left over every month, we set it aside for things like oil changes, insurance co-pays, and a little bit of cushion.

So there you have it, that's the budget. The funny thing is, out of all the money we spend every month there's only a few hundred dollars worth that we actually have real control over. Since that is the case over the next few posts I hope to focus in on one particular area: groceries. It's the one with which most people struggle (notice my amazing grammar there?) and it's the one with which I've had the hardest time finding help via the internet. 

Tune in next week for some general tips on sticking to a small grocery budget.

Have a wonderful weekend!!
Husband, the Bear, and Brother at Run Ruckus (from back in March but I'm still pretty proud)